This week I tried two recipes for a couple of curries, part of my on going Indian food/ curry obsession. I would eat it everyday if I could! Unfortunatley with the excitement of the impending house move, a new phone and the bank holiday I comitted the cardinal blogging sin.... I didn't take photos of the dishes I made!
I followed this recipe for Bhindi Bhaji's which went ok but was not as nice as those I tried at Mangala on Spital Hill.
I also found somewhere which sells Paneer at last, (well two places to be exact) so I got to try Matter Paneer. I vaugely followed this recipe but didn't use the leeks, shallots, salt, pepper or sugar and substituted the oil for ghee. I've been working on my version of this recipe for Now Then Magazine, fingers crossed they'll accept it!
Next week I'll try harder to put some pictures up or my recipes and not scoff all my food first! That's if I don't lose my laptop in the move...
Tuesday, 30 August 2011
Monday, 22 August 2011
52 Recipe Challenge – Week 8
When I started this blog I looked in my recipe books at recipes I had not tried and made a plan of which recipe to do when and that went well, up until about week five and after that the plan changed a little. I decided against doing the recipe I had planned on week 6 because it required buying too many ingredients and last week I changed my mind partly for that reason and partly because I had a craving for sweet things. Unfortunately that craving hasn’t yet subsided and this week I have succumbed to baking once again when I should be making salads...

Because I succumbed to my sweet tooth once more this week’s recipe was a Scone Bread Recipe I had seen in Sam Stern’s: Real Food, Real Fast, when making more tried and tested recipes.

To make this recipe you need:
375g Self Raising Flour
1 ½ Teaspoons of Salt
90g Butter
125ml Milk
125ml Water
1 Tablespoon of Caster Sugar
1 Handful of dried fruit.
I started making this by pre-heating the oven to Gas Mark 7/220c and getting my ingredients together. Next I measured out the flour and sifted it into my mixing bowl with the salt and sugar.

Then I made a small indent in the middle of the mix and melted the butter, after it was melted I added the butter, dried fruit, water and milk to the flour mix and stirred it with a fork.
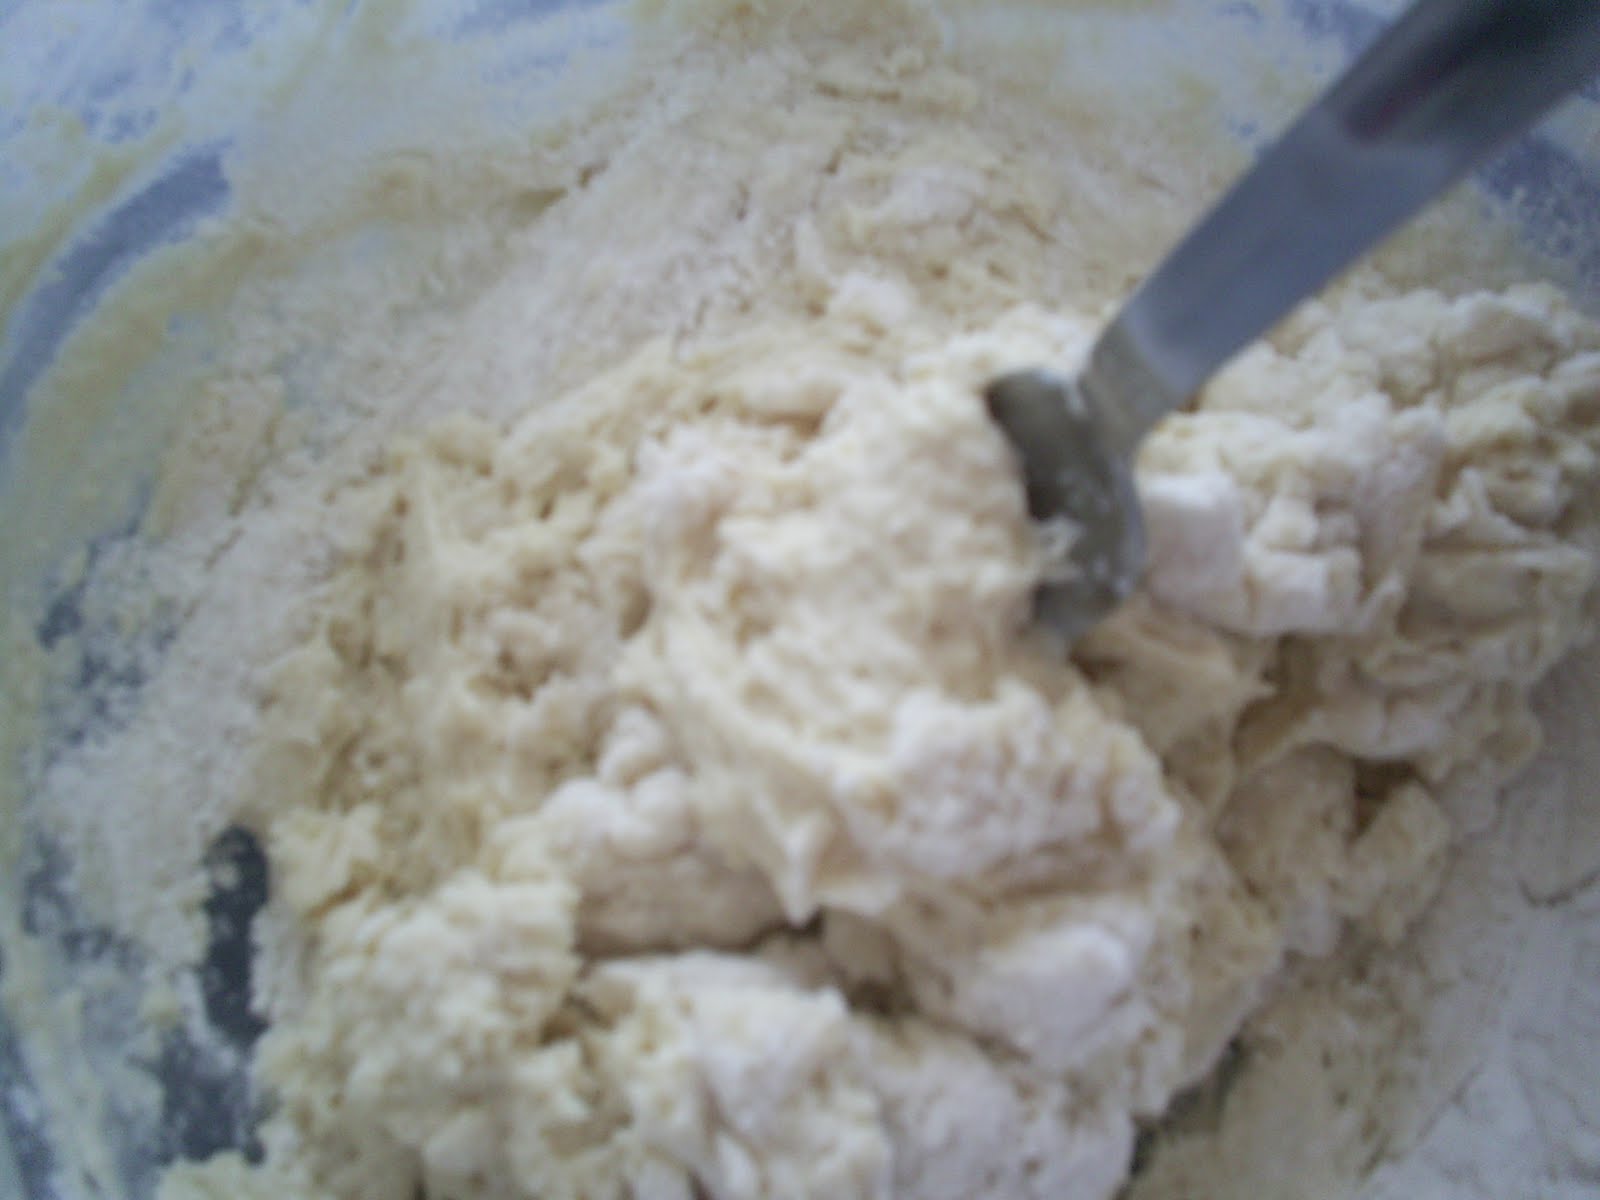
When it started to come together and seemed doughy I transferred it to my kitchen side which I had floured before kneading (well more like punching it a bit) until it seemed mixed together enough. After that I let it rest for a minute as I greased up a baking tray then I transferred it on to a tray and made a few shallow cuts in the top as directed in my recipe. The recipe I followed said make six half inch cuts as if dividing up a pizza so I ran my pizza cutter over it in a rough star shaped pattern.

After I did that I gave the dough a quick brush with some milk and sprinkled some flour over it and then bunged it in the oven. I left it in my oven on gas mark 7/220c for 10 mintues and then turned it down to gas mark 4/180c for another 20 minutes. It seemed to cook ok fine on the bottom but I was concerned it wasn’t cooking on the top so I flipped it over for the last 10 minutes.

When I took it out the top seemed a little flattened but it seemed to have cooked ok but you know what they say the proof of the pudding is in the eating.... well let’s just say it went well with a cup of tea, butter, jam and clotted cream.

A good reward for a hard day’s decorating!
Tuesday, 16 August 2011
52 Week Recipe Challenge - Week 7
This week I had planned to do another savoury dish but my sweet tooth got the better of me and I started raiding my cookbooks for a sweet recipe to satisfy my need for sweet treats. It’s because of this that I decided to try to make Strawberry Shortcakes, I like to think of them as shortbread meets Eton mess. (Only minus the meringues!) This recipe comes from my food processor cook book: Kenwood Creative Food Processor Cooking by Becky Johnson.
To make this recipe you need
175g Butter
75g Caster Sugar
2 Drops Vanilla Flavouring
225g Plain Flour
A Pack of Strawberries
A tub of whipped cream.
I started making this dish by getting my ingredients out, pre heating the oven to Gas Mark 4/ 180c then greasing my baking trays and lining them with baking paper. After I did this I measured my sugar and butter then put them in the food processor along with the vanilla flavouring then creamed them together with the knife attachment. (If I was feeling more energetic I would have put them in a bowl and mixed them with a wooden spoon...)

After I had done that I gave the measuring bowl a quick clean and dry in the hope the flour wouldn’t stick to the bottom after I had measured it, this was marginally successful. I then measured the flour and sifted it into the food processor and mixed it together with the creamed butter and sugar until it formed a dough.
Once that was done I sprinkled some flour on to my kitchen work top and tried to roll out the dough which kept sticking to the rolling pin.

When I scraped off the dough, floured the rolling pin and rolled it out to half a centimetre thick I started trying to cut it out into shapes. I had lots of success with the circle biscuit cutter but my dinosaur one was a flop, the head, tail and legs kept falling off. (I think it’s a because it’s a Diplodocus shape, it wouldn’t happen with a Tyrannosaurus shape.) After eventually realising I wouldn’t be able to make dinosaur shortbread I finished cutting the shortbread into circles and put them in the oven for about 10 minutes until them were a slightly darker shade of brown.

I then let the shortbread cool as I washed and then cut up my strawberries. After doing that I put them to one side as I cleaned the food processor, dried it then put the tub of whipping cream into it and whipped it until it was thick had swirly patterns in it, once that was done I mixed the cream and strawberries together.


This was very tasty and although I think the description on the recipe, where it says: ‘they can be on the table in 20 minutes from start to finish’ is a lie, they are a lovely treat.
Thursday, 11 August 2011
52 Recipe Challenge - Week 6 Chilli Pork with chickpea mash.
After thinking about the last recipe I made which was lovely and rich but also contained four different types of cheese it seemed a good idea to make something a bit healthier. This week’s official recipe is adapted from a chilli chicken recipe in a cook book called: Healthy Dishes, it’s been adapted to chilli pork because that’s what was in my freezer.
To make this recipe you need:
4 Pork loin steaks
A glug of olive oil
5 teaspoons of harissa paste
3 Garlic cloves
A tin of Chickpeas
8 tablespoons milk (rough guess)
2 teasoons cumin
2 teaspoons corriander
A pinch of salt and pepper

The first thing I did when making this recipe was to cover the pork with olive oil then cut slits into it and then coated it with harissa paste.

Then I covered the pork and put it in the fridge to marinate for half an hour.

Whilst I did that I located my tin of chickpeas and pre heated the oven to gas mark 7/ 220c.
When the meat had finished marinading I put it into a tin and popped it in the oven for about 25 minutes.
After doing that I drained the white wine vinegar off my lazy garlic, added it to some olive oil and then fried it.

As the garlic was frying I drained and rinsed my can of chickpeas then put them in the pan as the garlic started to stick to the bottom. I gave it all a quick stir before adding the 4 tablespoons of milk the recipe recommended; however, this didn’t seem enough so I poured in another glug of milk and cooked them until I thought they had cooked enough to be mashed.

So when I thought the chickpea mix was cooked I popped them in my blender which whirred for a few seconds then got a bit stuck. I prodded the mix a bit before realising that it needed more liquid before I could puree it so I added more milk. By the time it had blended into a decent puree the mash had cooled down so I returned it to the pan to heat it up and added the cumin, coriander, salt & pepper to season it. Once the mash had heated up, the pork had finished cooking so I dished up them up and got eating.

I liked this recipe because I enjoyed the flavours and how it worked as a nice light meal, not the using every pot in the kitchen side of it...
Tuesday, 9 August 2011
52 Recipe Challenge Week 6 – the return of the roulade!
Last week I tried to make a vegetable roulade from: The Classic Vegetarian Cookbook last week but unfortunately it ended in disaster. I had hoped to make it again in the middle of last week and post the results and recipe as my official blog post but I didn’t manage it. The disastrous looking roulade actually tasted lovely heated in the oven and I have tried this recipe once more, this time without it collapsing. The presentation still won’t win me any Michelin stars but it’s the taste that is important anyway!
The vegetable roulade I made was a recipe from: Rose Elliot’s The Classic Vegetarian Cookbook and was a Gruyere and Red Pepper Roulade.

To Make this recipe you need:
185g Cream Cheese
150ml Single Cream
4 Eggs
200g Cheese ( I used 170g Gruyere & 30g Cheshire)
4 Red Peppers
Some Butter for greasing paper
A bit of parmesan for sprinkling.

Firstly I preheated the oven to Gas Mark 6 or 200c and lined my roasting tray as it was the biggest tin I had. Next I cut out and greased the non-stick paper and sprinkled some parmesan on it.

I then put the tray to one side and mixed the cream cheese and cream together then separated the eggs into egg whites and yolks in two bowls. When I separated the eggs, I added the yolks to the cream mixture one at a time.

Once I did that I grateed the Gruyere and Cheshire cheese into the mix and stirred it in.

The next thing I did was to whisk up the egg whites, the first time I did this I used a hand whisk until they were quite frothy and my arm was aching.

The second time I did this I used my food processor’s whisking attachment which took 2 minutes and did the job properly... you can whisk them either way they just need to be frothy and not runny but or too stiff.

Once I whisked the egg whites I gently folded them into the cream and cheese mixture.

When the egg whites are combined with the cream and cheese mixture I poured it in the tin I prepared and put aside earlier and put it in the oven for 12 – 15 minutes until it had risen a bit and has become firm rather than runny. Whilst this it in the oven I cut a piece of non-stick paper big enough for the roulade to go on and sprinkled parmesan on it. When the roulade base had cooked I turned it out on to that piece of paper.
After doing this I to cut my peppers into quarters and grilled them until the skins start burning and bubbling. Once this happened remove I them from the grill and let the cool, then chopped off the stalk and removed seeds and peeled them the skin off them. (This took a long time...)

Once I peeled the peppers, I spread spread the remaining cream cheese on the roulade base, then covered it with peppers.

After I did this I rolled it up like a swiss roll and the vegetable roulade was complete and ready to eat.

This is not the easiest recipe to follow with the separating of eggs and peeling of peppers. It has felt like it was cursed at points, the first one tore apart when rolled because I used greaseproof not non-stick paper which the roulade base stuck to and made it thinner. When I tried making it the second time I cut my thumb opening the non-stick baking paper I bought.
Despite this it tastes gorgeous but be warned if you fancy making this peeling peppers takes quite a long time!

Tuesday, 2 August 2011
52 recipe challenge update week 5...
I've been trying a new recipe every week for the last month and this week I had planned to do a rather interesting recipe from a Vegetarian cookbook I bought in a charity shop about three or four years ago.
The plan was to make a nice cheese and red pepper roulade, which I have to describe to my boyfriend as a savoury swiss roll...
 It looked very nice when I was planning my blog but I unfortunately it didn't work out quite as planned. At first I was too busy as we had just got the keys to our first house, then I didn't have all the ingedients and then it went a bit wrong.
 My first attempt has ended up as something of a roulade wreck... edible just not something you would serve at a restaurant. One of the reasons for this seems to be that greaseproof paper isn't the same thing as baking paper. Who knew? Google apparently. So I'll post my next attempt after I've purchased some non-stick baking paper and report back on this recipe progress.
The plan was to make a nice cheese and red pepper roulade, which I have to describe to my boyfriend as a savoury swiss roll...


Subscribe to:
Posts (Atom)